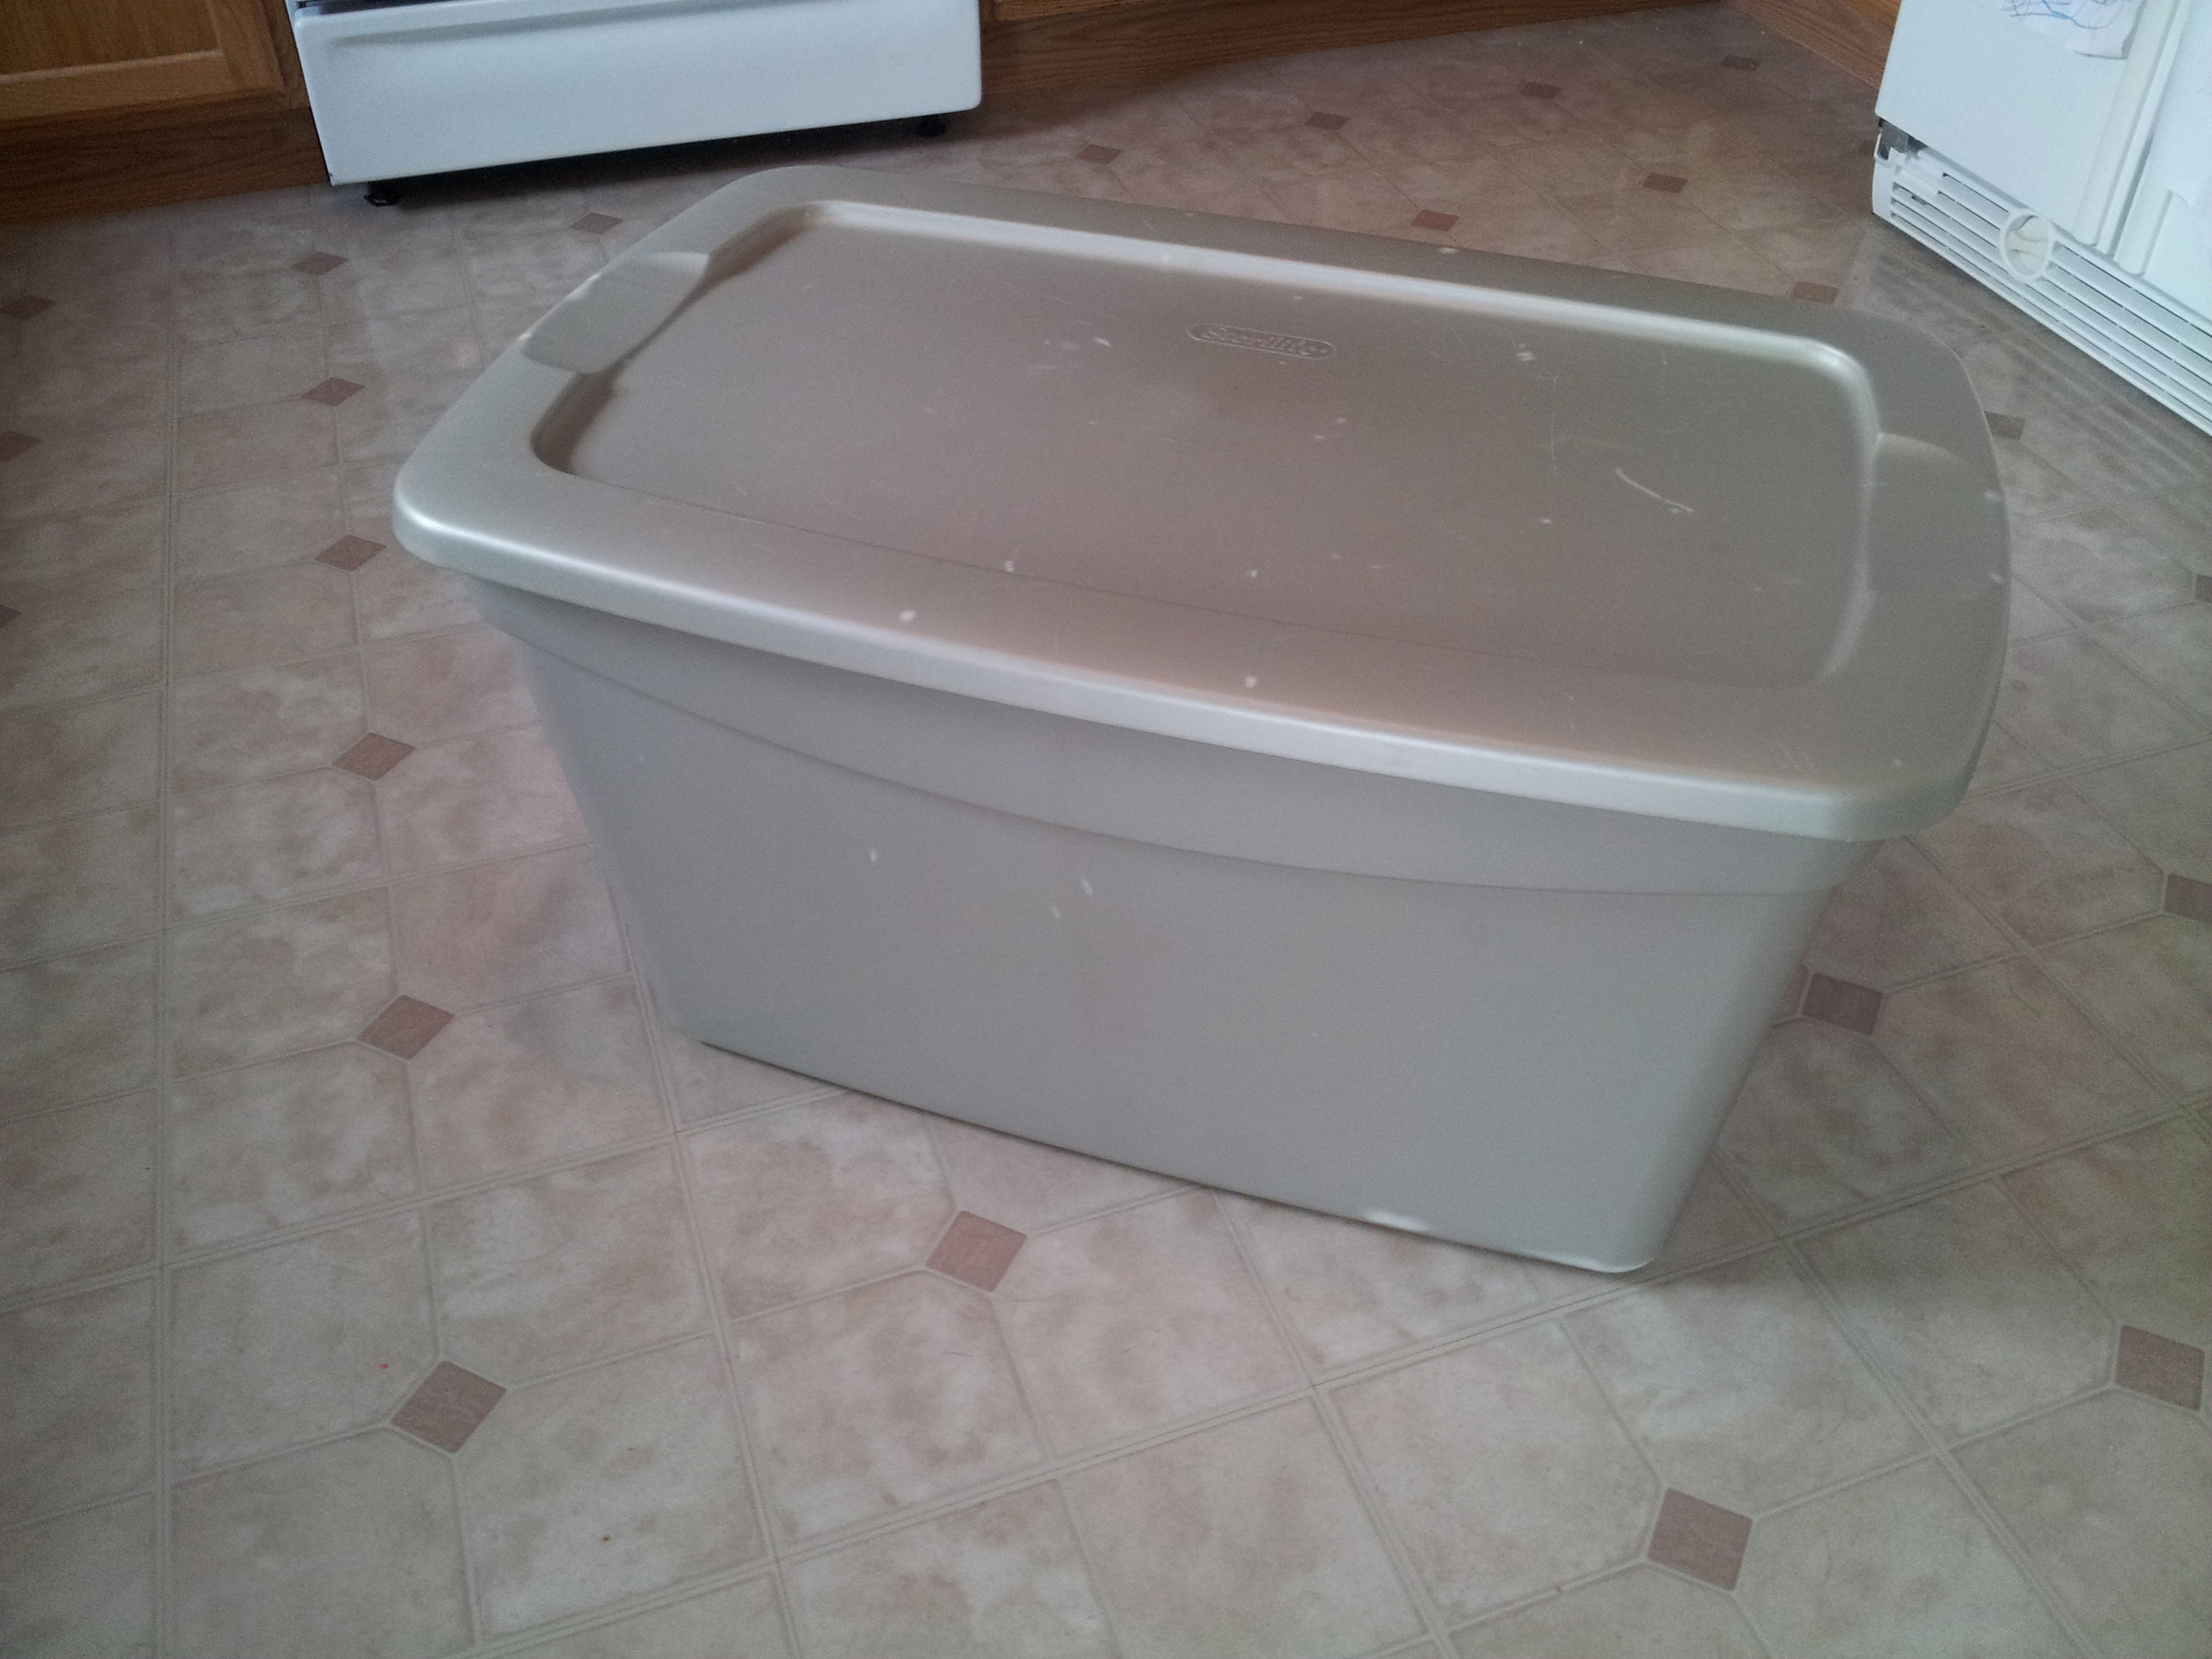
I was tired of looking at the ugly plastic bin I’ve been using as a toy box, but I didn’t want to spend money on an actual toy box. I decided to just give the bin a little makeover. It just took some wrapping paper, Mod Podge, burlap and decorative fence post caps to go from this:
To this:

Like it? I think it looks great. The bin is in my family room so I picked materials that would go well with my current decor, but the possibilities are endless.
Materials:
1. Bin
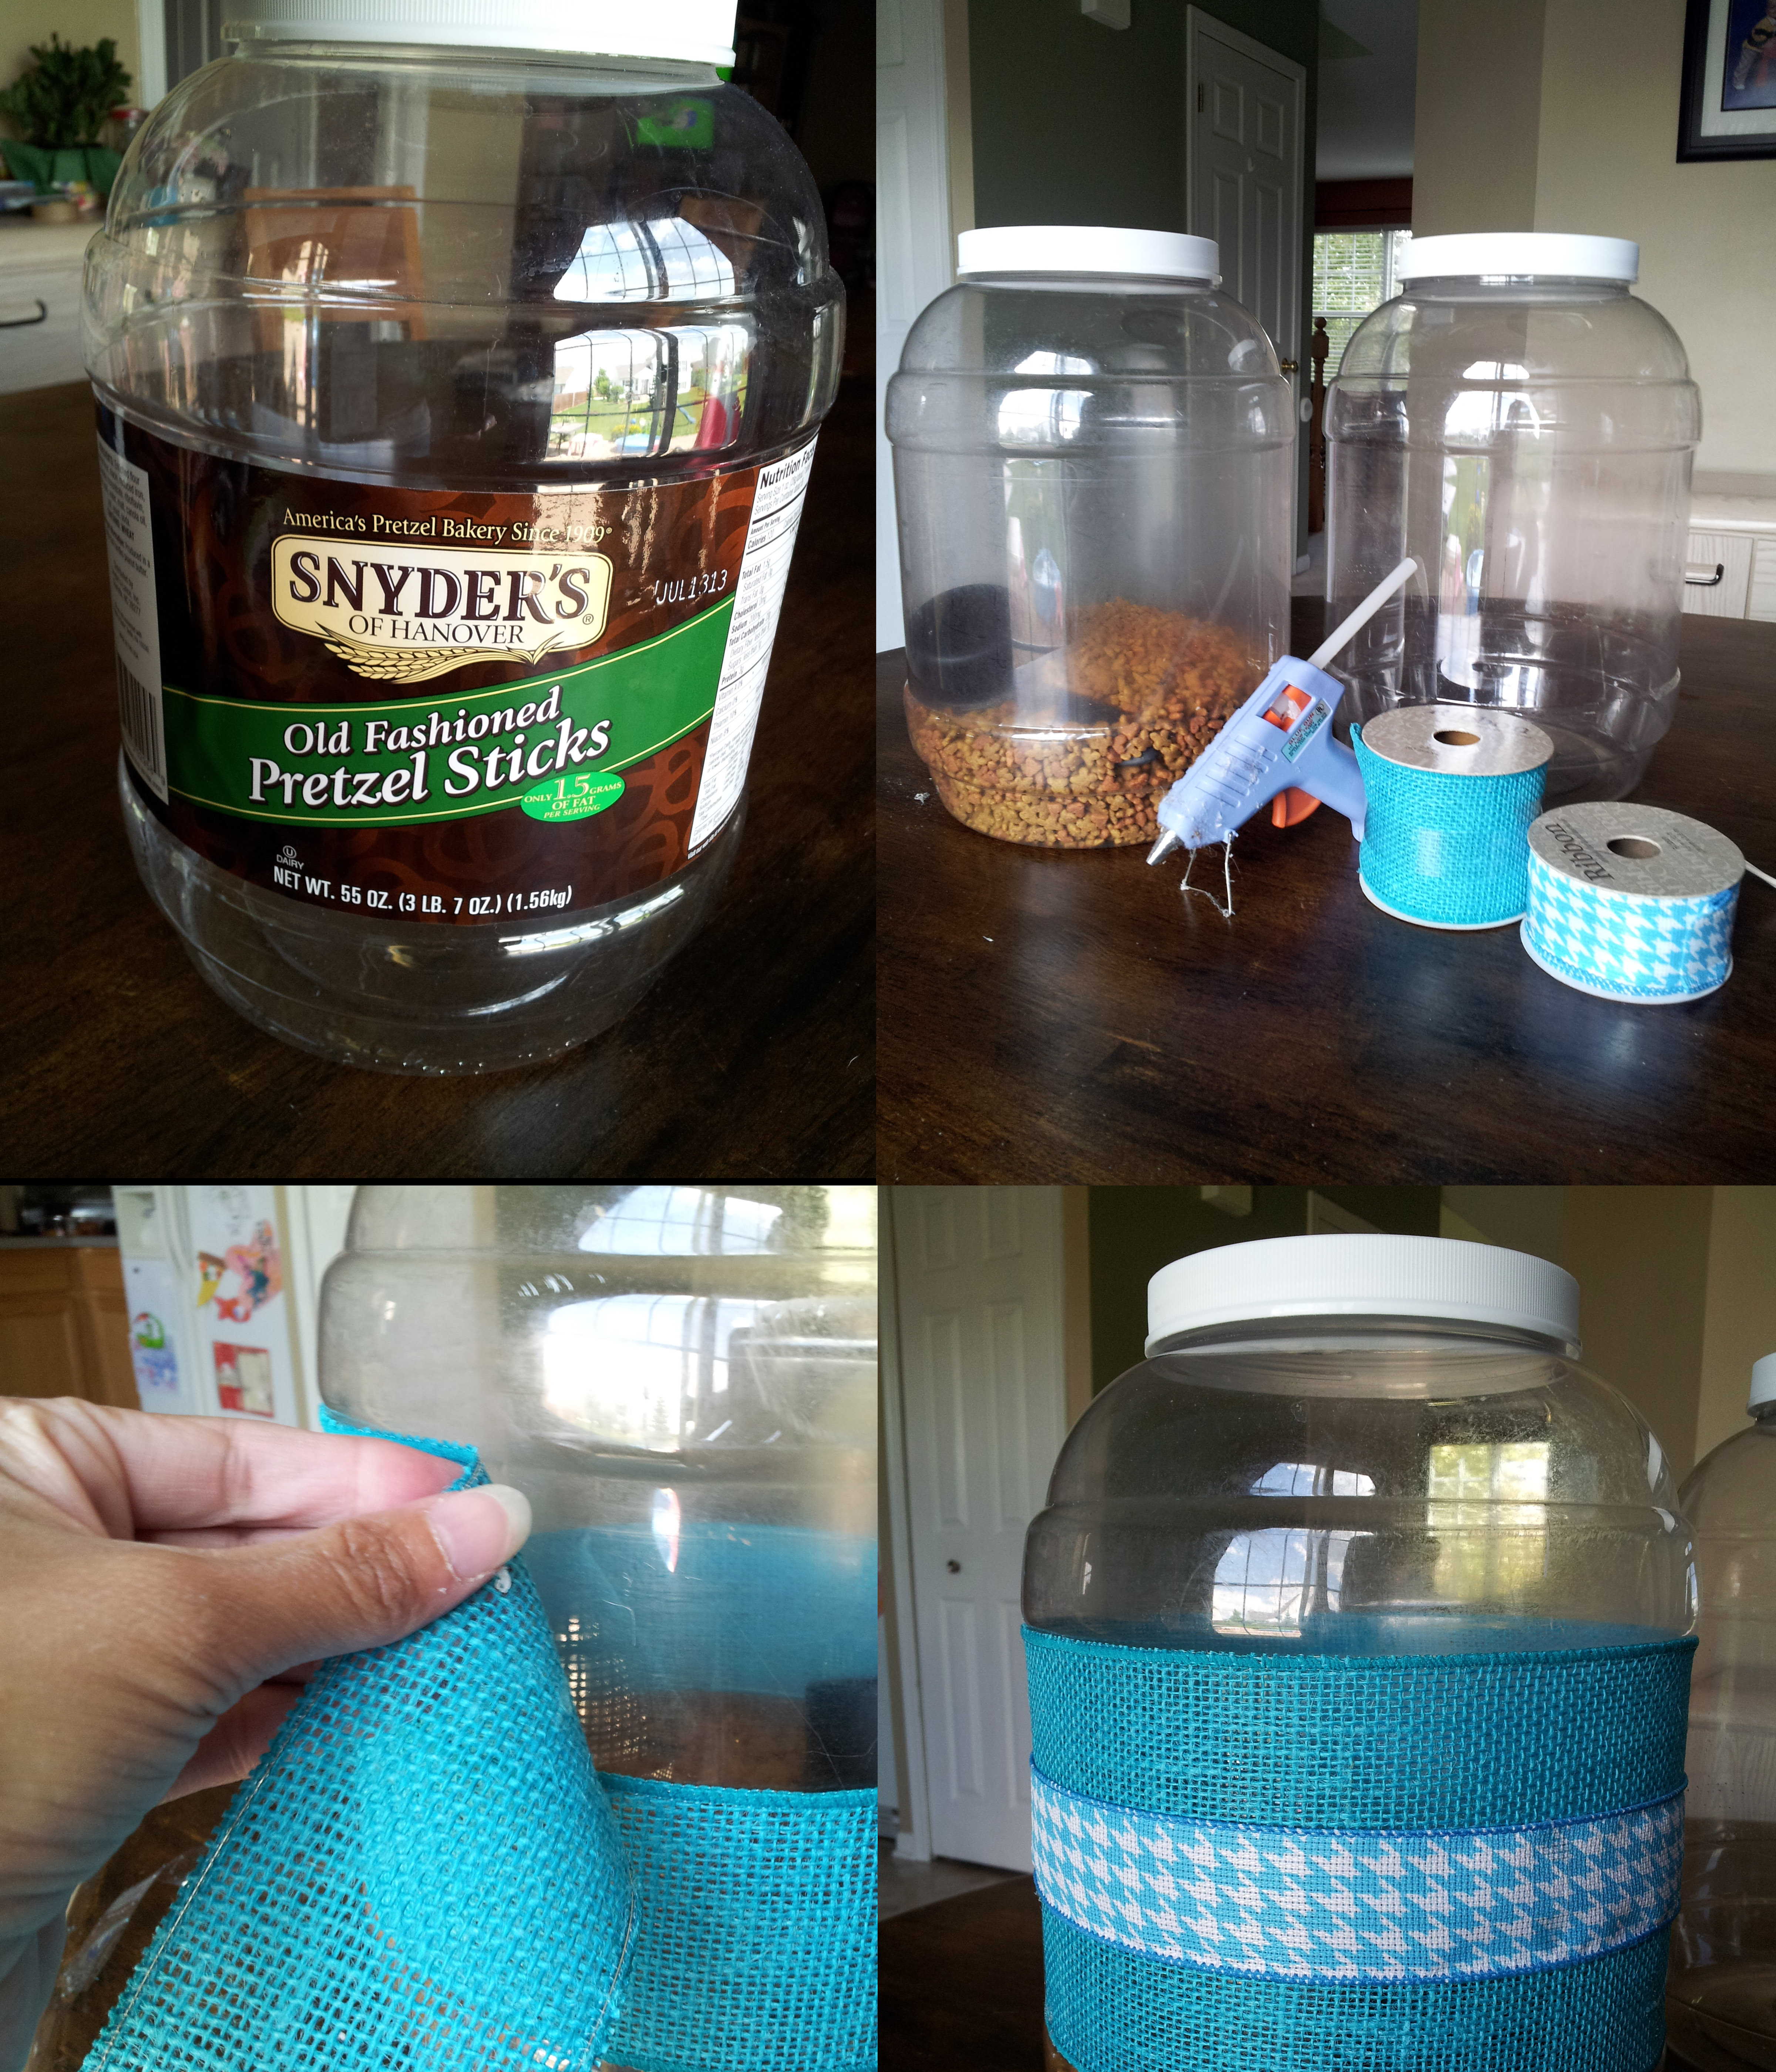
2. Fabric or wrapping paper. I used about a yard of burlap and wrapping paper I picked up at the dollar store
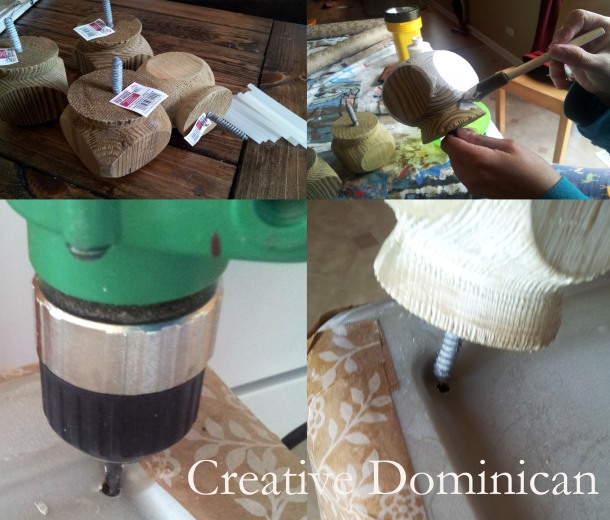
3. To keep the cost down I used decorative fence post caps as the legs instead of actual furniture legs. They cost about $3 each
4. Rope
5. Mod Podge
6. Hot glue
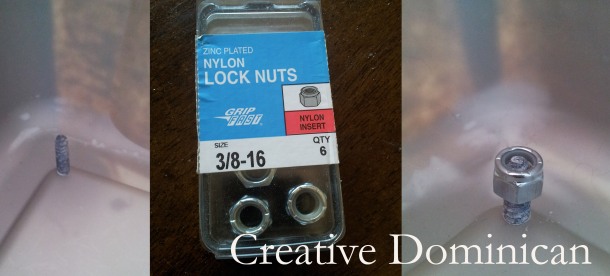
7. Lock nuts
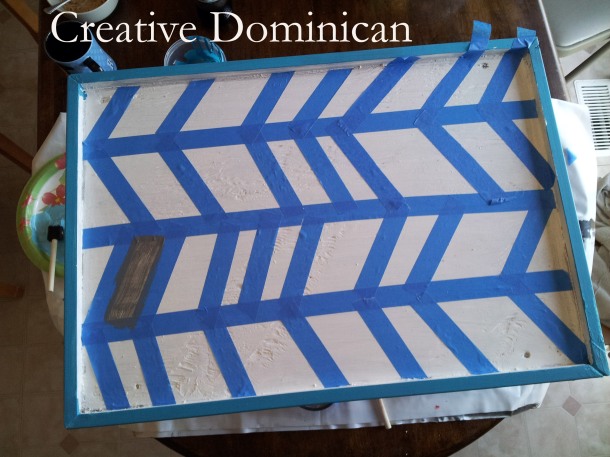
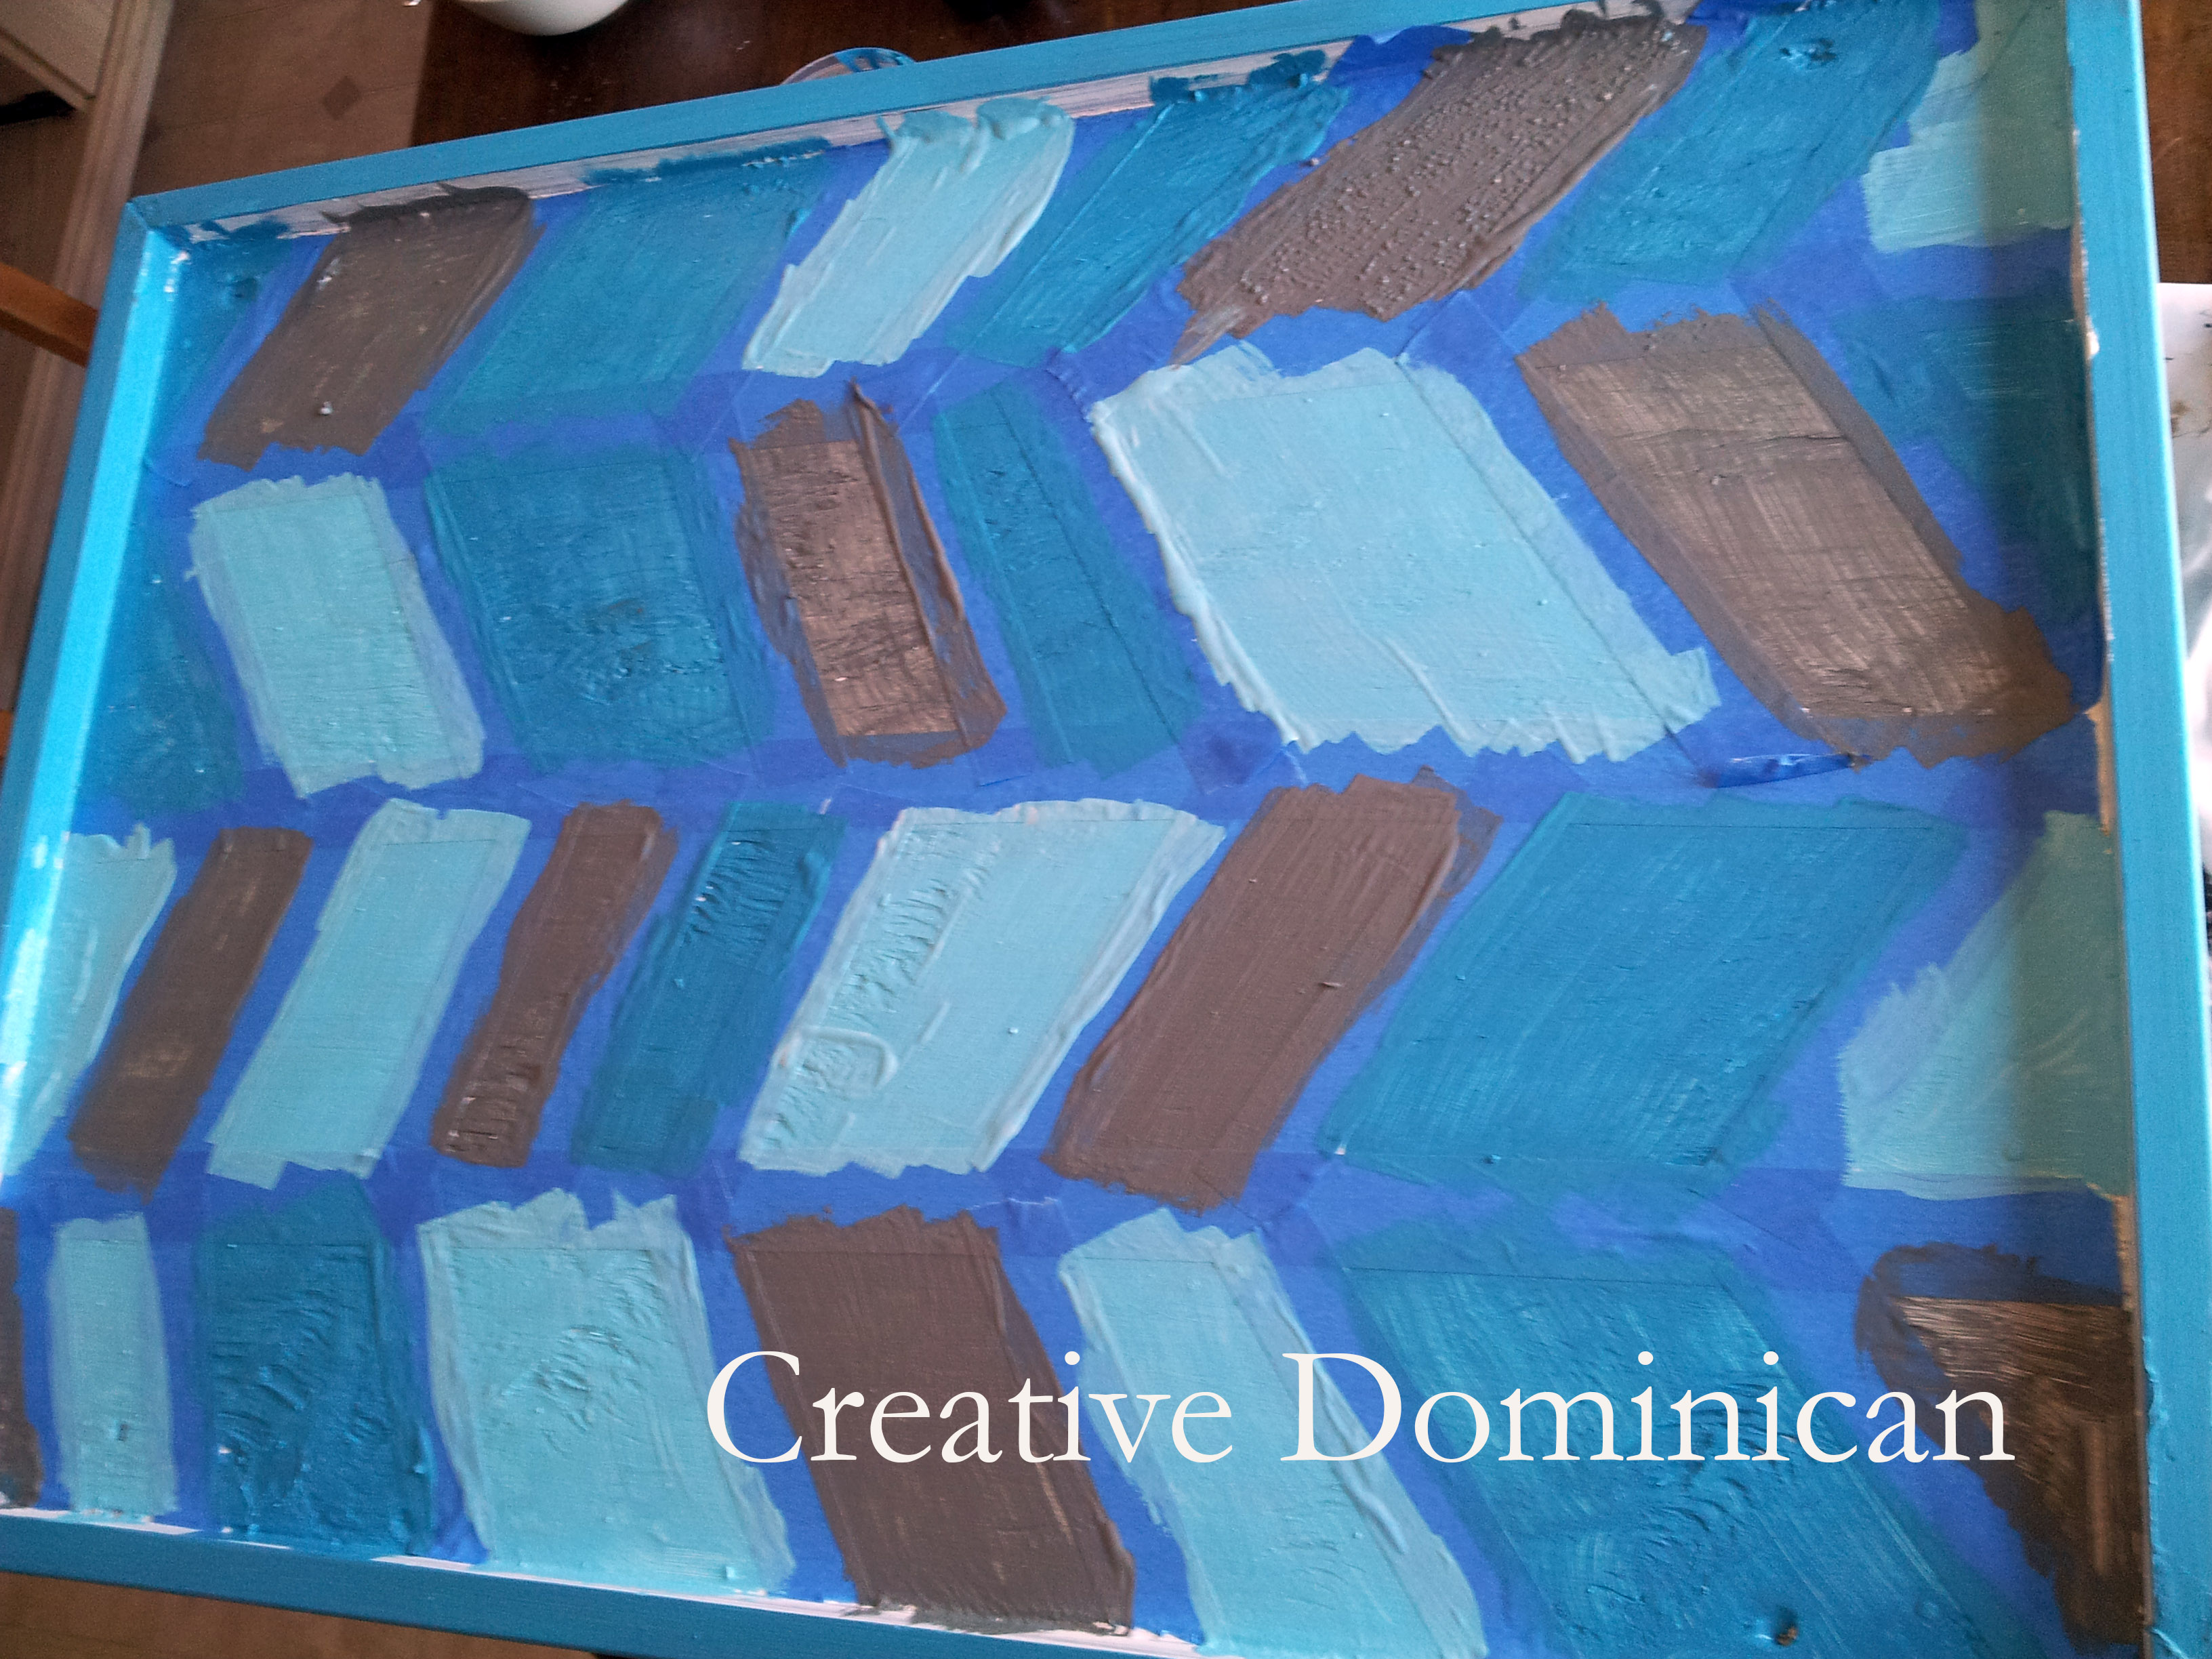
I brushed the Mod Podge on the bin with a sponge brush working in small sections so I could attach the wrapping paper and keep wrinkles to a minimum. I still had to recruit a helper to hold the bin down for me. Isn’t he cute?

My bin had a bit of a curve at the top. In the picture above you can see that I made some cuts to the paper so it would bend better and stay smooth below the curve. After I had it nice and smooth I trimmed off the extra paper.

I covered the lid and the section with the curve with some burlap using my hot glue gun. Now it was time to attach the legs. Attaching the legs was super simple, I just drilled a hole and screwed them right in. They are on super tight, I got this idea after putting together one of my daughter’s ridding toys where the screws just went right in to the plastic.
The screws that poked out inside were large and I was worried that they could scratch my little one if she decided to sit inside, so I added the Lock nuts to the top to cover up the pointy part and avoid any problems later.


Thanks for the visit!
Beca
So honored to be featured :


Linking to: Stone Gable| Not Just a House Wife | Home Stories A to Z | Craft and Repeat | Monday Fun Day | Lil Mrs Tori | Elizabeth and Co. | HomeWork | Blackberry Vine | The Winthrop Chronicles | The 36th Avenue | Ginger Snap Crafts | 52 Mantels | Lamberts Lately | The Shabby Creek Cottage | Live Laugh Rowe | DIY Show off | It’s Overflowing | VMG206 | This Silly Girl’s Life | Today’s Creative Blog | A Stroll Thru Life | Our Home Away from Home | French Country Cottage | Remodelaholic | Living Better Together | 504 Main | Tatertots and Jello | Liz Marie Blog | One Artsy Mama | Titi Crafty | Pink When | A night Owl | Weekend Wonder